
Some times, USB flash drives or memory cards get read only write protected error, i.e. you can’t copy data in to the USB drive. To solve this issue, here we are sharing some methods to remove the write protection from pen drive or memory card.
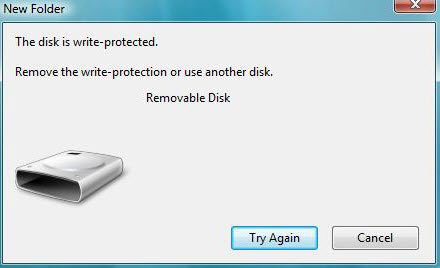
Error: The Disk is Write-Protected. Choose to Remove the Write-Protection or Opt for a Different Drive.
This problem can stem from various sources, let us explore the solutions.
1. Inspect for a Physical Lock Switch
Certain USB drives and memory cards come equipped with a physical lock switch that can protect your drive from unwanted changes. Carefully inspect the device for such a switch. If found, toggle it to the opposite side to disable the write protection mechanism.
2. Launch an Updated Antivirus Scan
The issue could potentially be triggered by a hidden virus. Use updated antivirus software to thoroughly scan and possibly fix the issue. If you lack an updated antivirus program, the Kaspersky virus removal tool is a viable, free option.
3. Review Security Permissions
- Right-click the USB drive and choose ‘Properties’ from the context menu.
- Navigate to the ‘Security’ tab in the properties window.
- Under ‘User’, choose ‘Edit’.
- Ensure ‘Write’ permissions are granted to the intended user. If not, choose “Full” for complete permissions or simply “Write” for write permissions.
4. Using Registry Editor
- Access the ‘Registry Editor’ by typing ‘regedit’ into the ‘Run’ dialogue, accessible from the Start Menu.
- Take the following path:
HKEY_LOCAL_MACHINE\SYSTEM\CurrentControlSet\Control\StorageDevicePolicies - Note: If you don’t locate ‘StorageDevicePolicies’, skip to step 6.
- Double-click ‘Write Protect’ in the right pane, set the value to ‘0’ in the ‘Value Data’ box, and hit ‘OK’.
- Exit the Registry and restart your PC.
If you can’t find the key StorageDevicePolicies in step (3) you have to create it manually
- Right-click
HKEY_LOCAL_MACHINE\SYSTEM\CurrrentControlSet\Control\and choose ‘New > Key’. - Name it ‘StorageDevicePolicies’.
- Open this new registry key, right-click in the right pane, choose ‘New > DWORD’ and name it ‘WriteProtect’.
- Set its value to ‘0’.
- Reboot your machine to apply the changes.
5. Using Diskpart (command prompt)
- Open the ‘Command Prompt’ from the Start Menu or by typing ‘CMD’ in the search bar.
- Execute the following series of commands:
- Type diskpart
- Type list disk
- Type select disk # (# is the number of the USB DRIVE you’ve plugged in )
- Type attributes disk clear readonly
- Type “exit” to exit the diskpart
6. Format Your USB Drive
If these solutions fall short and the USB drive still poses write protection issues, a ‘low-level format’ on the drive might be necessary. For this, download and execute the HDD Low-Level Format Tool on your USB drive. After completing the low-level format, a partition may need to be created on that disk drive. Here’s how to do that:
- Run ‘diskmgmt.msc’.
- Select your USB drive in the Disk Management window, right-click, and choose ‘Format’.
- Click ‘OK’. Done!
Hopefully, one of these solutions will come to your rescue and aid in removing write protection from your USB drive or memory card.